Example Limewash Projects in Bellevue

More than half of Bellevue’s homes were built between 1950 and 1989, and a good share since 2000. The examples follow that spread, from a 1950s house on a slope to a 1980s front hall and a 2000s living room, plus an office lobby.

They are illustrations, so do not look for them on a map. No client, address or past job is behind them. Each one is put together from the usual preparation for that surface and current price ranges, to help you judge your own project before a quote.

Hall wall matched to a paint chip in a 1980s house

Example project
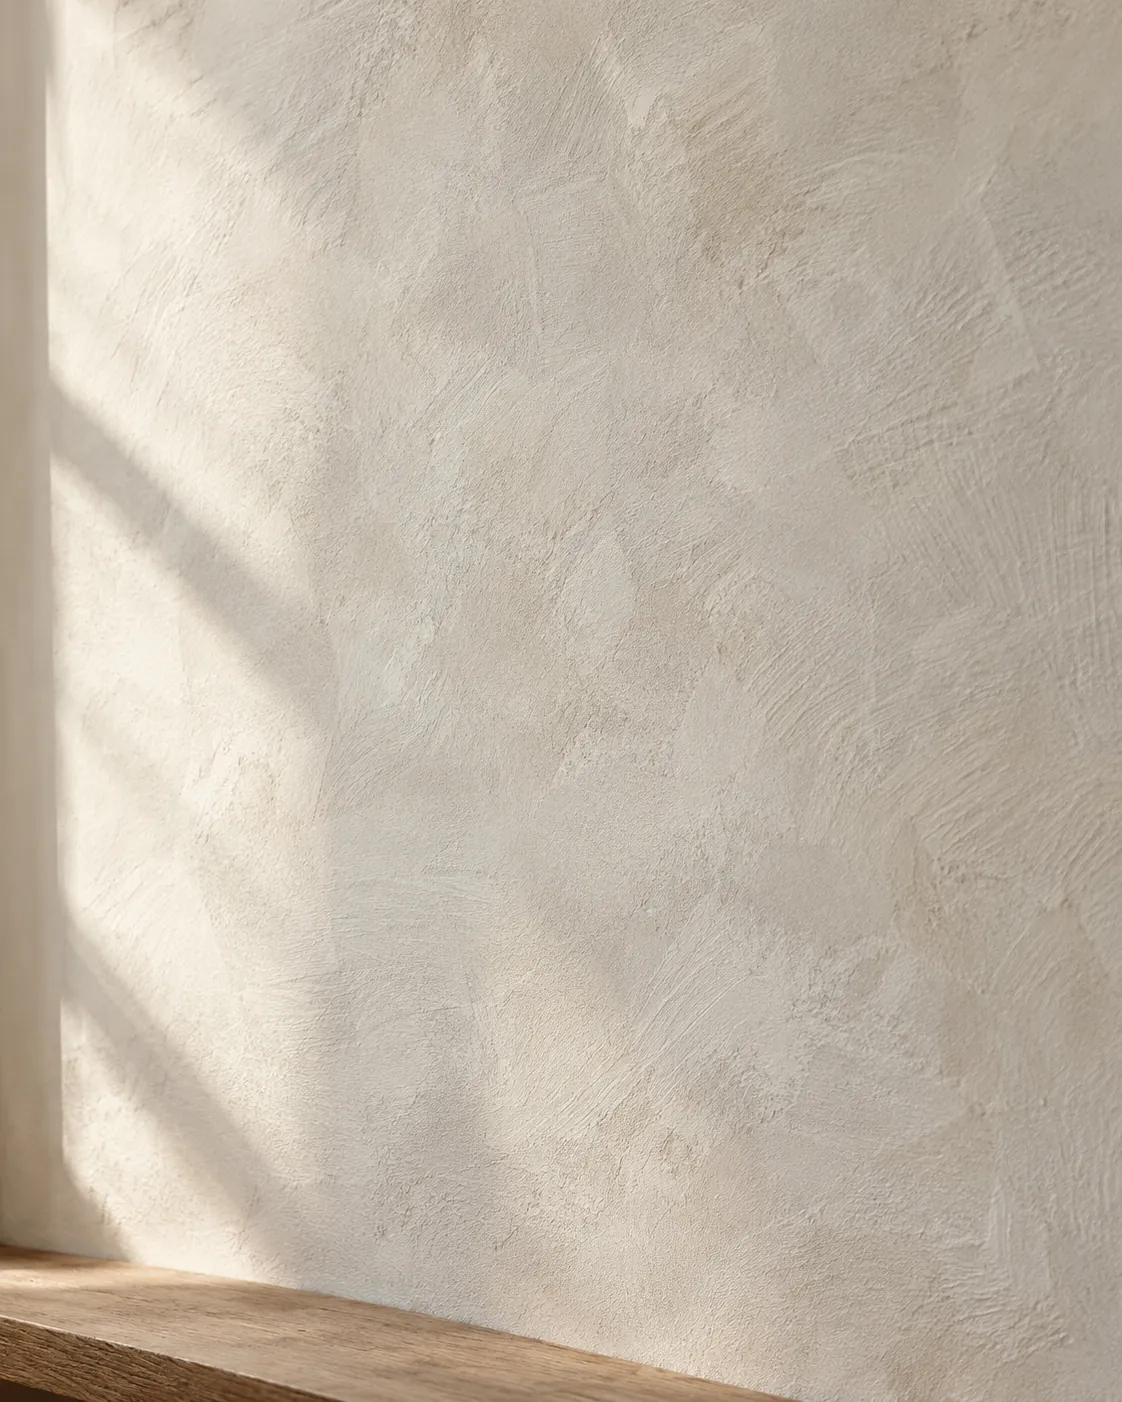
Warm cream limewash on a front hall wall, with sunlight and window shadows across it and an oak bench below
Home
1980s house, front hall wall above a built-in oak bench
Original request
Match a warm cream the owners picked from a small paint chip
Surface
Painted drywall
Area
About 110 sq ft of wall
Existing finish
Eggshell latex paint
Finish
Warm cream lime paint, two coats over a scuffed and undercoated wall
Timeline
Two working days, after a week of color testing
Estimated cost
$1,150

Scope of work

Two large sample boards mixed toward the chip and checked on the wall in morning and evening light; light sanding of the eggshell paint; masking the bench, floor and trim; the undercoat; two brushed coats; the color recipe and batch written down for touch-ups.

Project overview

In this example, the owners have a small paint chip in a warm cream and want the hall wall to match it in lime. A chip that size says little about how lime will look across a whole wall, with its soft clouding and the strong light from the window.

Lime dries much lighter than it looks wet, and it shifts with the light. So the color is matched on two large boards first, judged dry on the actual wall, and only then ordered in one batch for the job.

The goal

The goal is a hall wall in the warm cream of the owners’ chip, as it really looks in lime, with a written color recipe for any touch-ups later.

Process

  1. A week before Two large boards mixed toward the chip, one a shade warmer, left on the wall for a few days.
  2. Five days before The chosen color tinted and ordered in one batch.
  3. Day one Bench, floor and trim masked, the eggshell paint sanded lightly and the undercoat rolled on.
  4. Day two Warm cream brushed on twice, with a few hours of drying in between.

Planning right

  • A small chip is a starting point, not a match. Lime looks lighter and softer over a whole wall, so a large board is the better guide.
  • Tinted lime is made to order and cannot be returned once used, so the color is settled before anything is ordered.
  • A satin or eggshell sheen needs scuffing with fine sandpaper so the undercoat can grip.
Request a free quoteMore about interior limewash walls

Long living room wall in low sun, in a 2000s house

Example project

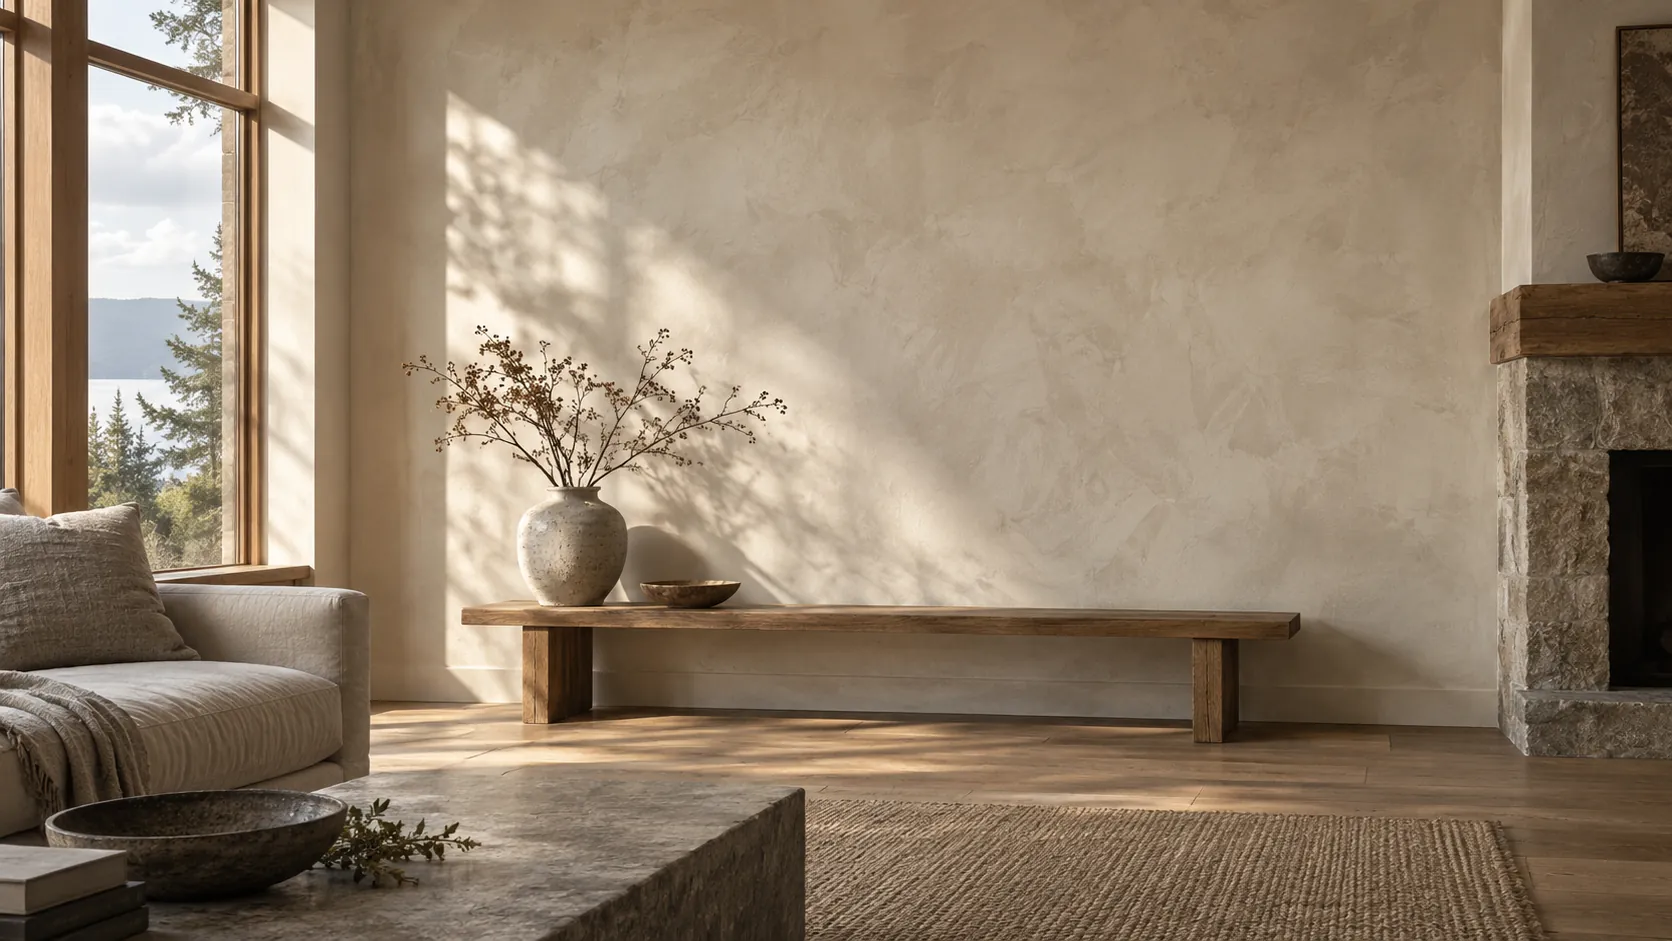
Long living room wall in warm ivory limewash with low sun and branch shadows, a wooden bench and a stone fireplace beside it
Home
2000s house, living room with tall windows and a stone fireplace
Original request
A soft finish on a long blank wall that low afternoon sun rakes across
Surface
Smooth painted drywall
Area
About 145 sq ft of wall
Existing finish
Flat latex paint, with tape seams showing in low light
Finish
Two coats of warm ivory lime paint on an undercoat
Timeline
Two working days
Estimated cost
$1,300

Scope of work

Seams and dents filled and sanded flat; the undercoat over flat paint; two brushed coats with the brush direction planned for the side light; masking of the floor, window frames and the edge of the stone fireplace.

Project overview

In this example, the long wall facing the windows catches low sun every afternoon, and that light shows every tape seam in the flat paint. The owners want a soft, chalky finish that looks good in that light instead of exposing it.

Side light is hard on any finish, so the wall is prepared as if for a smooth coat, with seams and dents filled and sanded flat first. The brushing is then planned for the light, with loose cross strokes that read as soft movement rather than marks.

The goal

The goal is a warm ivory wall that turns soft and cloudy in the afternoon sun, with no seams showing, beside the gray of the stone fireplace.

Process

  1. Before work Boards in warm ivory and chalk white, checked on the wall at four in the afternoon.
  2. Day one Masking, seams filled and sanded, undercoat rolled on.
  3. Day two Two coats of warm ivory, each brushed corner to corner without stopping.

Planning right

  • Lime softens fine texture but still shows dents and seams in side light. They are filled before the undercoat.
  • Look at the boards at the hour the sun hits the wall. Morning light will not show the same thing.
  • A bench or sofa rubbed against plain lime will mark it. Leave a small gap behind them.

Request a free quoteMore about interior limewash walls

Pale stair walls for safer steps at a 1950s hillside house

Example project

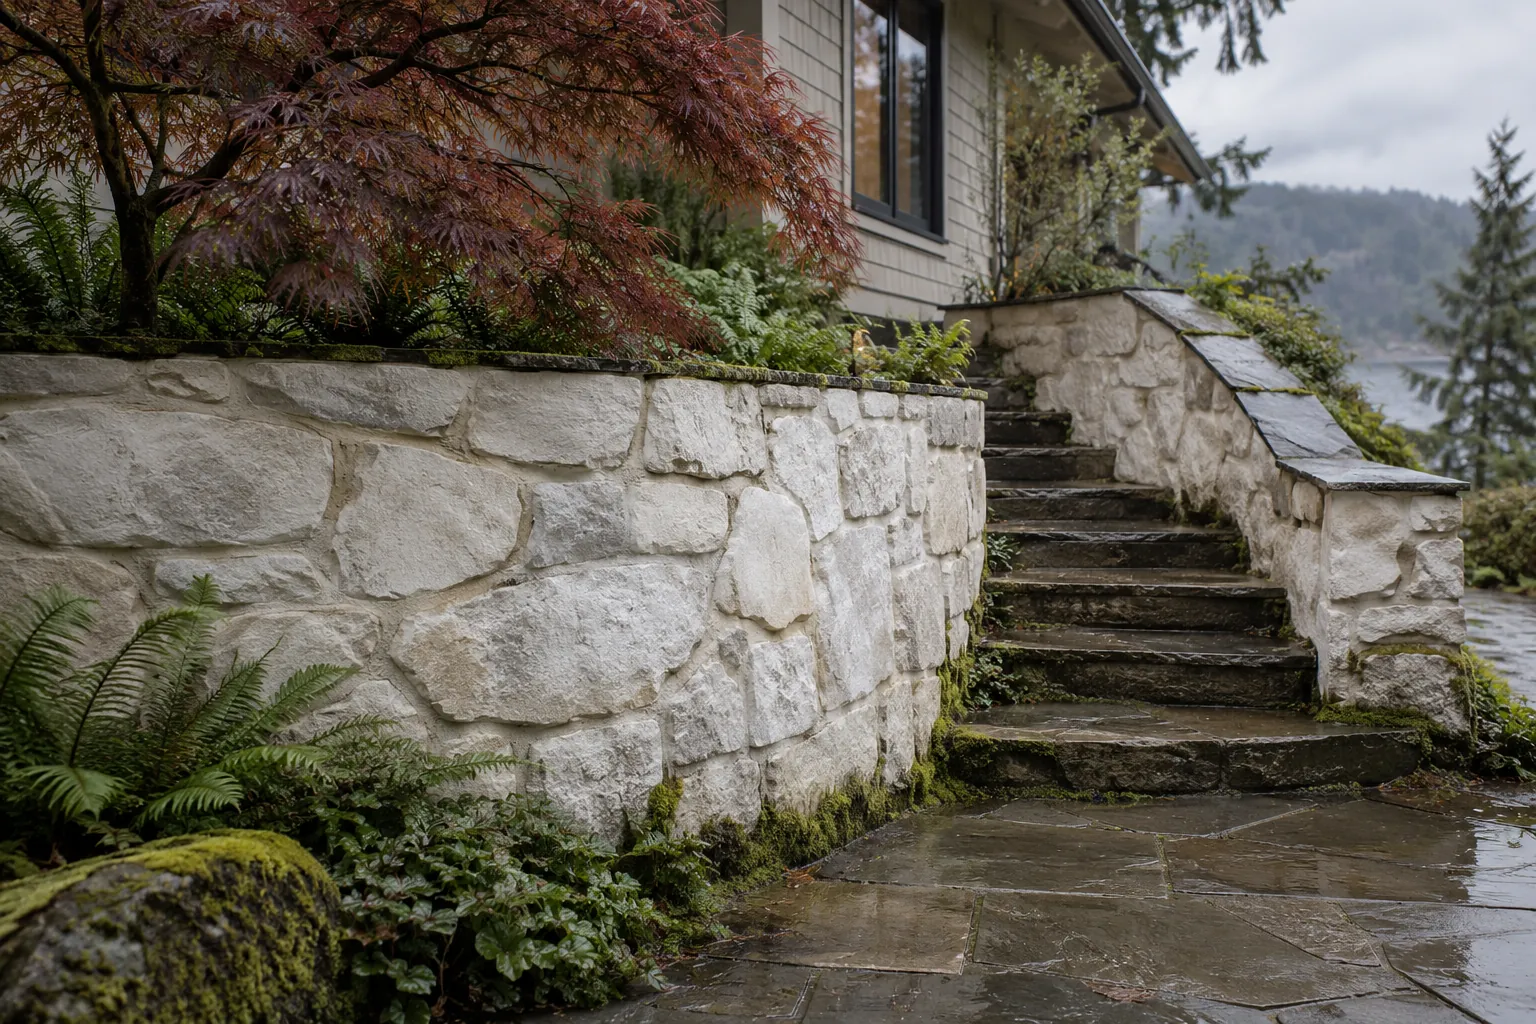
Stone stair wall and retaining wall in full white limewash beside dark slate steps, with a red Japanese maple above
Home
1950s house on a sloping lot, with shingle siding
Original request
Make the front steps easier to see at dusk
Surface
The stone wall beside the steps and the straight retaining wall along the path
Area
About 340 sq ft of stone face
Existing finish
Bare gray stone
Finish
Bright white limewash, three coats for fuller cover
Timeline
Three working days, plus a short visit 10 to 14 days later
Estimated cost
$2,800

Scope of work

Brushing the stone clean; a water-drop test on several stones; protection of the slate treads, caps, paving and planting; dampening and three brushed coats; a return visit 10 to 14 days later for a breathable water-repellent topcoat on the faces. The slate treads and caps stay bare and dark, which helps the step edges stand out.

Project overview

In this example, the steps climb from the street through a shady front garden, and the gray stone walls beside them almost vanish at dusk. The owners want the walls pale enough to mark the way up, without painting the stone.

That needs fuller cover than a soft wash, so the plan uses three coats of bright white, brushed well into the joints. The dark slate treads stay as they are, and the contrast between white walls and dark steps does most of the work.

The goal

The goal is white stone walls that guide the eye up the dark steps at dusk, with the shape of each stone still visible in daylight.

Process

  1. Before work Water drops on several stones, and a board brushed with one, two and three coats.
  2. Day one Slate treads and planting covered, the stone wetted, and the first white coat pushed well into the joints.
  3. Day two Second coat on the lightly dampened walls.
  4. Day three Third coat, clean-up and a look at dusk for thin spots.
  5. 10 to 14 days later Return trip for the clear water-repellent coat.

Planning right

  • Stone has to soak up water for lime to hold. Where drops bead on a stone, it gets more cleaning before any coat.
  • More coats mean more white and less stone color. The three-coat board shows how far that goes before work starts.
  • We do not limewash the treads or the slate caps. Feet and standing water would wear it off.
  • Expect to refresh the lowest courses every few years, where rain splashes up from the paving.

Request a free quoteMore about limewash stone

Gray office lobby softened over two weekends

Example project

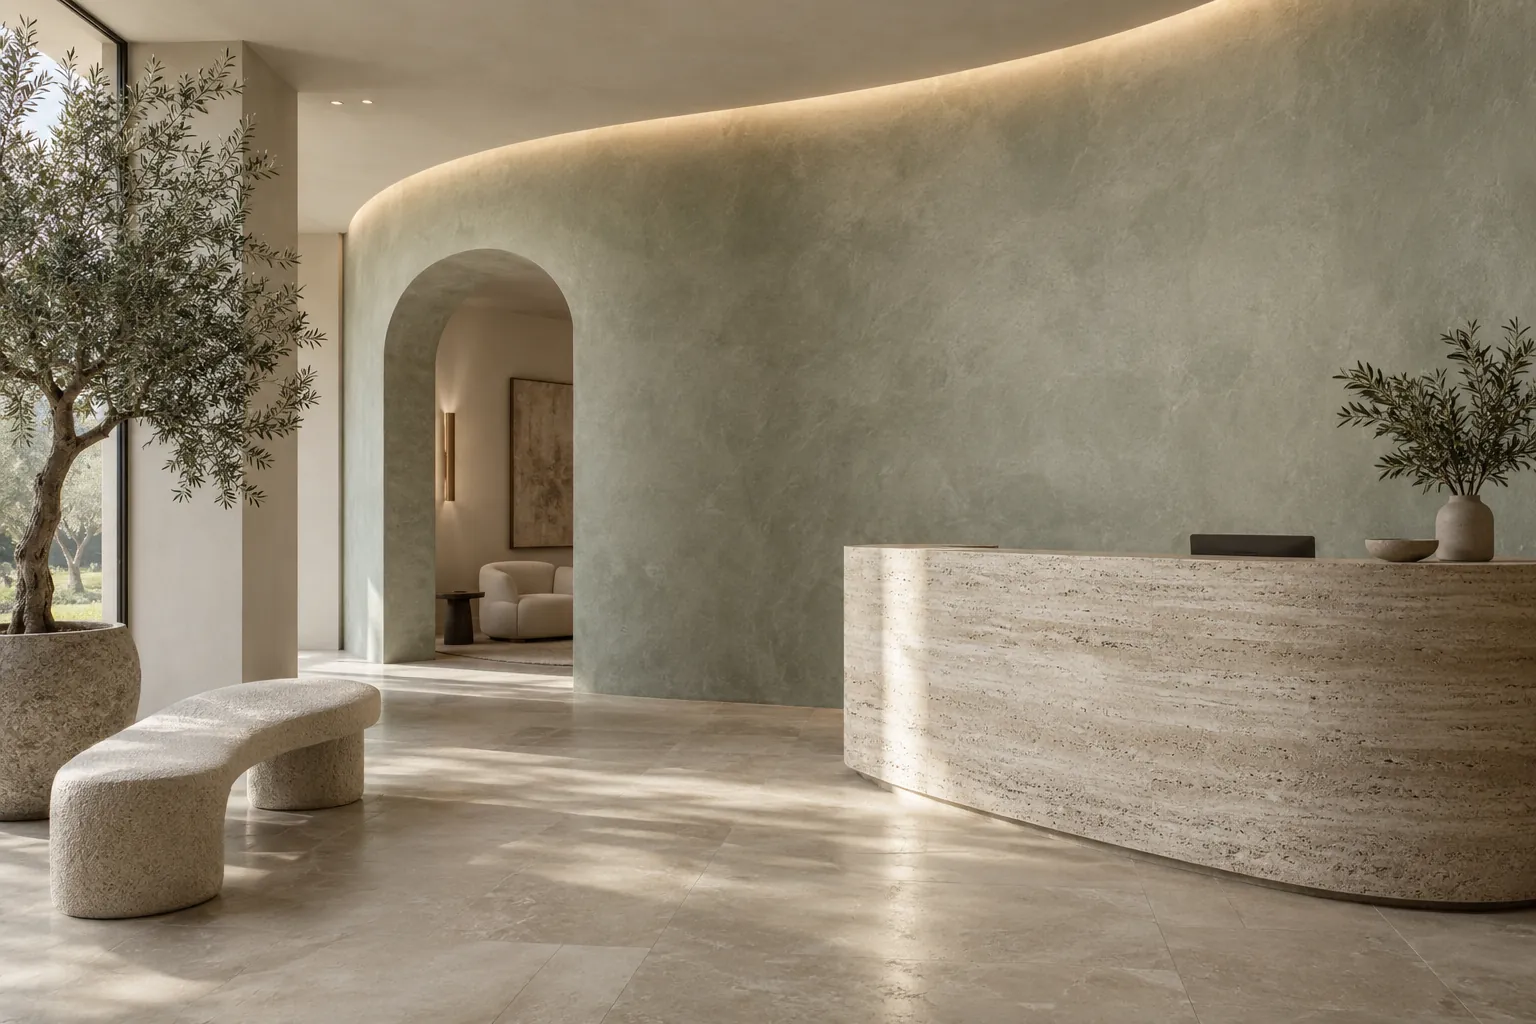
Curved gray-green limewash wall in an office lobby, with an arched doorway, an olive tree and a stone reception desk
Building
Office lobby with a curved wall, an arched doorway and a stone reception desk
Original request
Replace flat gray paint with something calmer, without closing on weekdays
Surface
Painted drywall, including the curved wall
Area
About 1,000 sq ft of wall
Existing finish
Eggshell paint in mid gray
Finish
Undercoat, then a lime paint in soft gray-green on the curve and warm white elsewhere, two coats
Timeline
Two weekends, four working days in all
Estimated cost
$8,500

Scope of work

Weekend work only; masking of the desk, floor, window and seating; light sanding and cleaning of the eggshell paint; the undercoat; two brushed coats, with two painters on the curve; furniture back in place and the floor clear by each Monday morning.

Project overview

In this example, the lobby walls are a flat mid gray that makes the space feel cold, and the curved wall behind the desk looks like a blank partition. The firm wants a calmer, softer room but cannot close the office on a weekday.

So the work runs over two weekends. Preparation and the undercoat fill the first, the two coats of lime the second, and the room is cleared and usable each Monday.

The goal

The goal is a calm lobby with a soft gray-green curve behind the desk, finished without closing on a single weekday.

Process

  1. Two weeks before Boards in gray-green and warm white, checked in the lobby in daylight and under the evening lights.
  2. First Saturday Masking, light sanding and cleaning.
  3. First Sunday Undercoat on all walls, masking lifted for Monday.
  4. Second Saturday Lime on every wall, beginning with the long curve.
  5. Second Sunday Second coat, touch-ups and clean-up.

Planning right

  • People lean on the wall beside a reception desk, and plain lime marks there. A clear matte sealer on that strip, brushed on several days after the last coat, suits light colors like these.
  • The curve has to be brushed in one pass from end to end. Two painters work it together so the edges stay wet.
  • Bellevue’s building code lists painting among work that needs no building permit.

Request a free quoteAbout commercial limewash

More limewash finishes

Further limewash images for comparing colors and textures, from pale walls to masonry and shop interiors. They are concept images, and the final color is chosen on boards brushed onto your own surface.

Interior walls and rooms

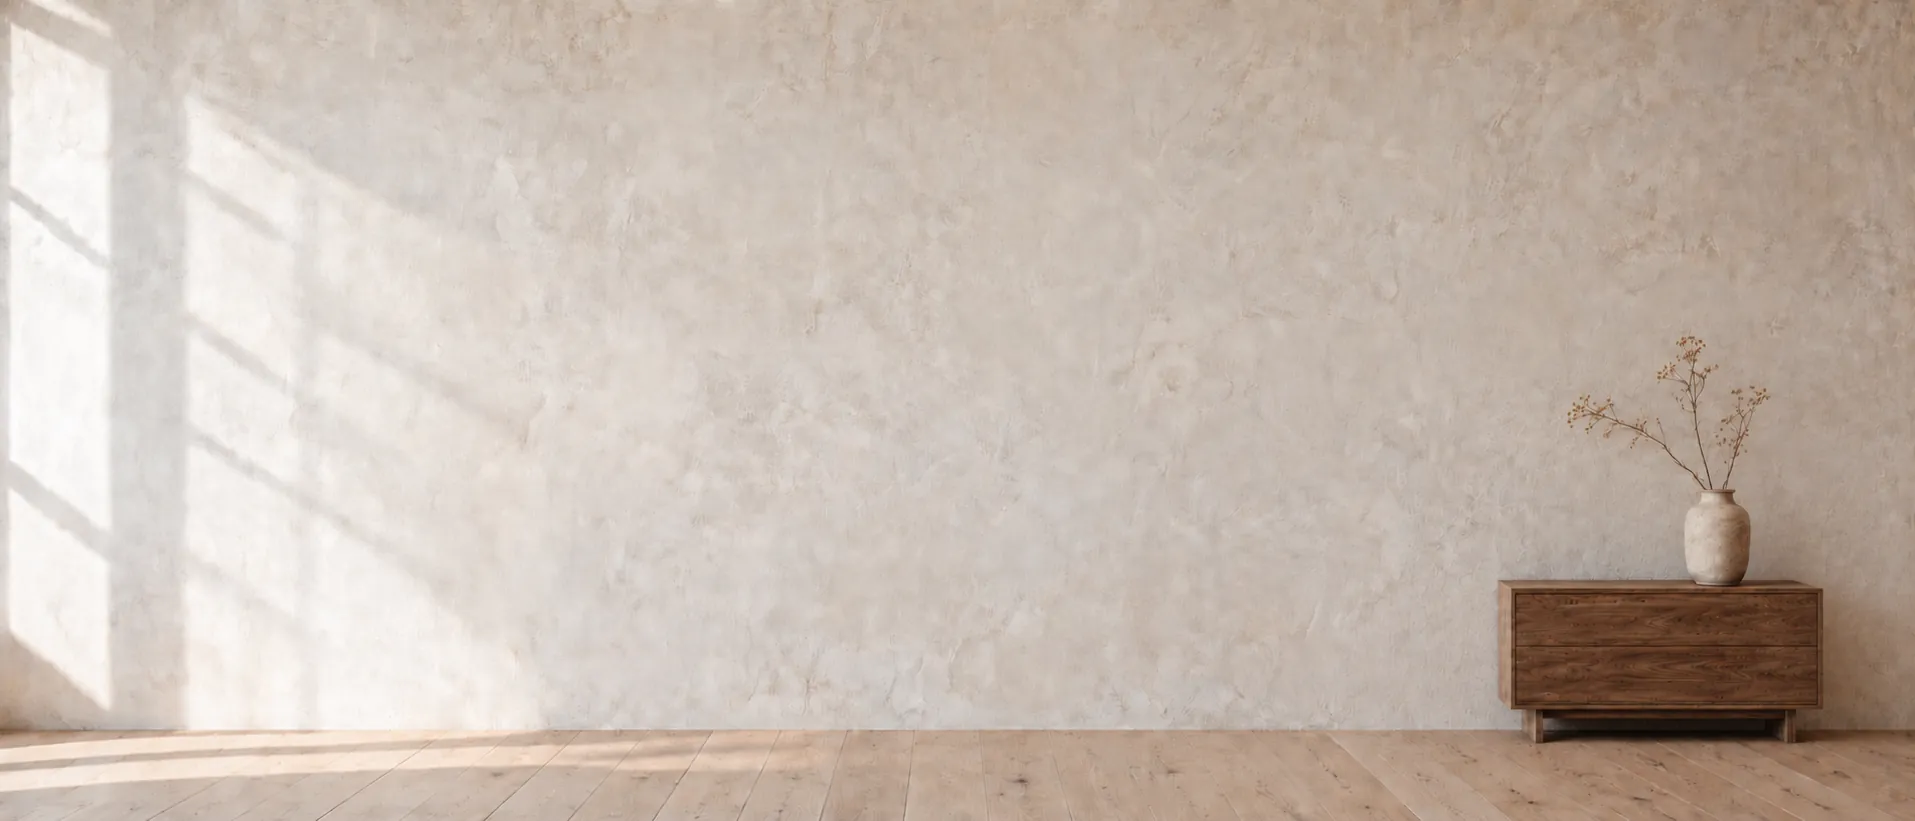
A chalk-white limewashed wall with a compact walnut sideboard and a stoneware vase of dried branches
Chalk-white limewash wall with a walnut sideboard
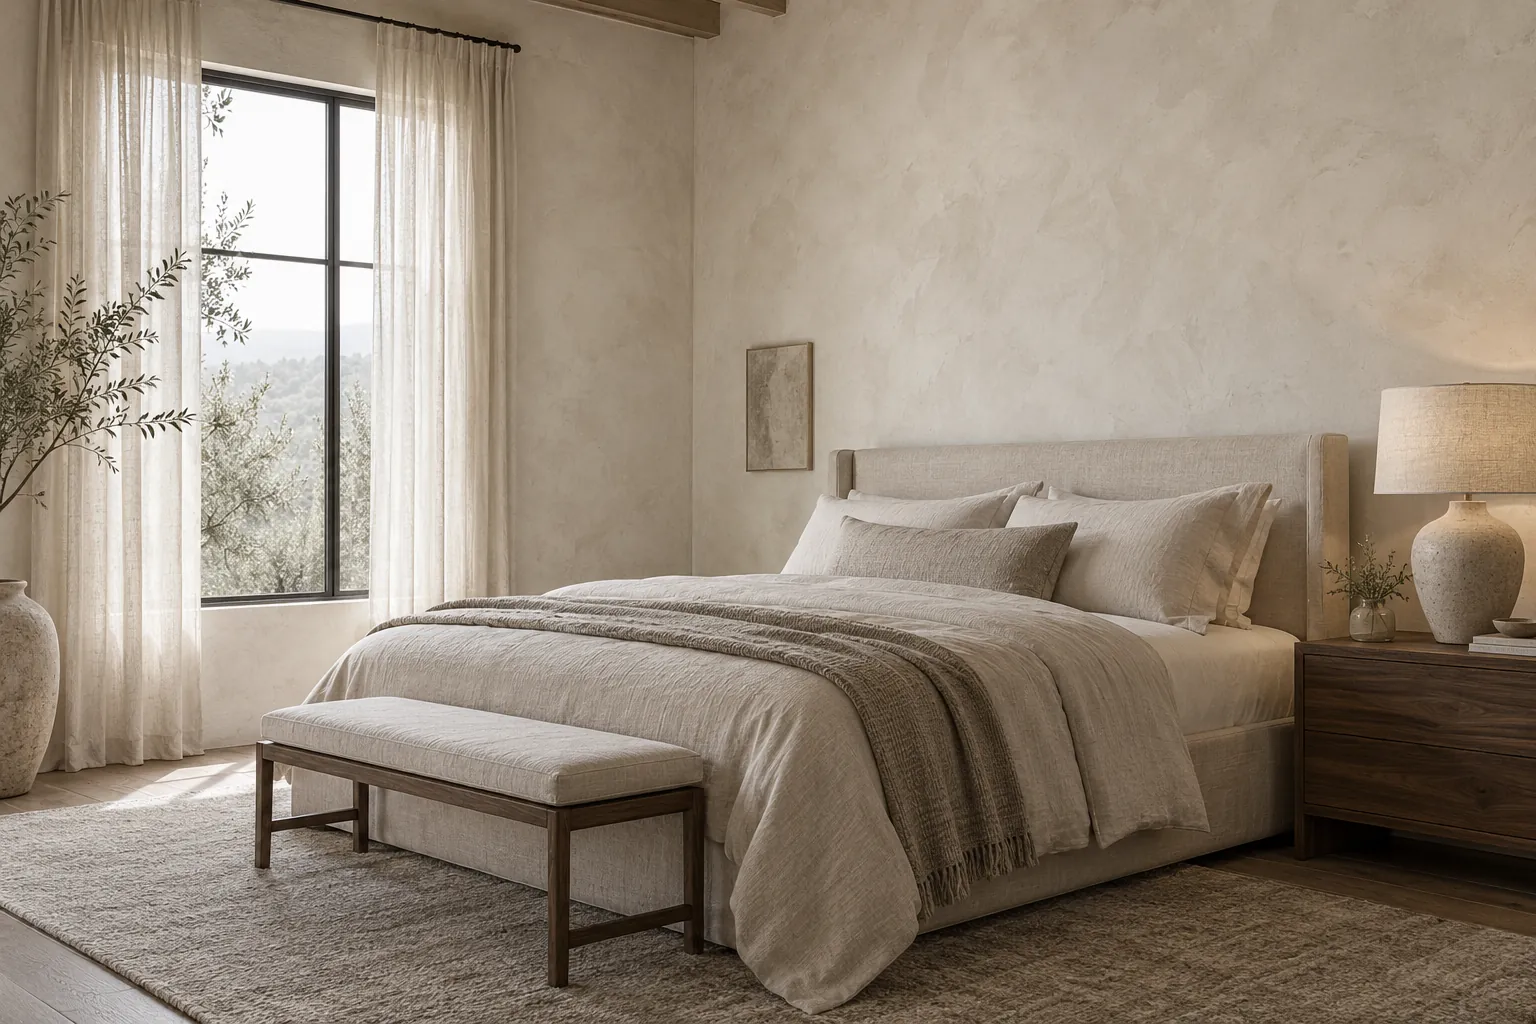
Bedroom with putty-white limewash walls
Putty-white limewash in a bedroom
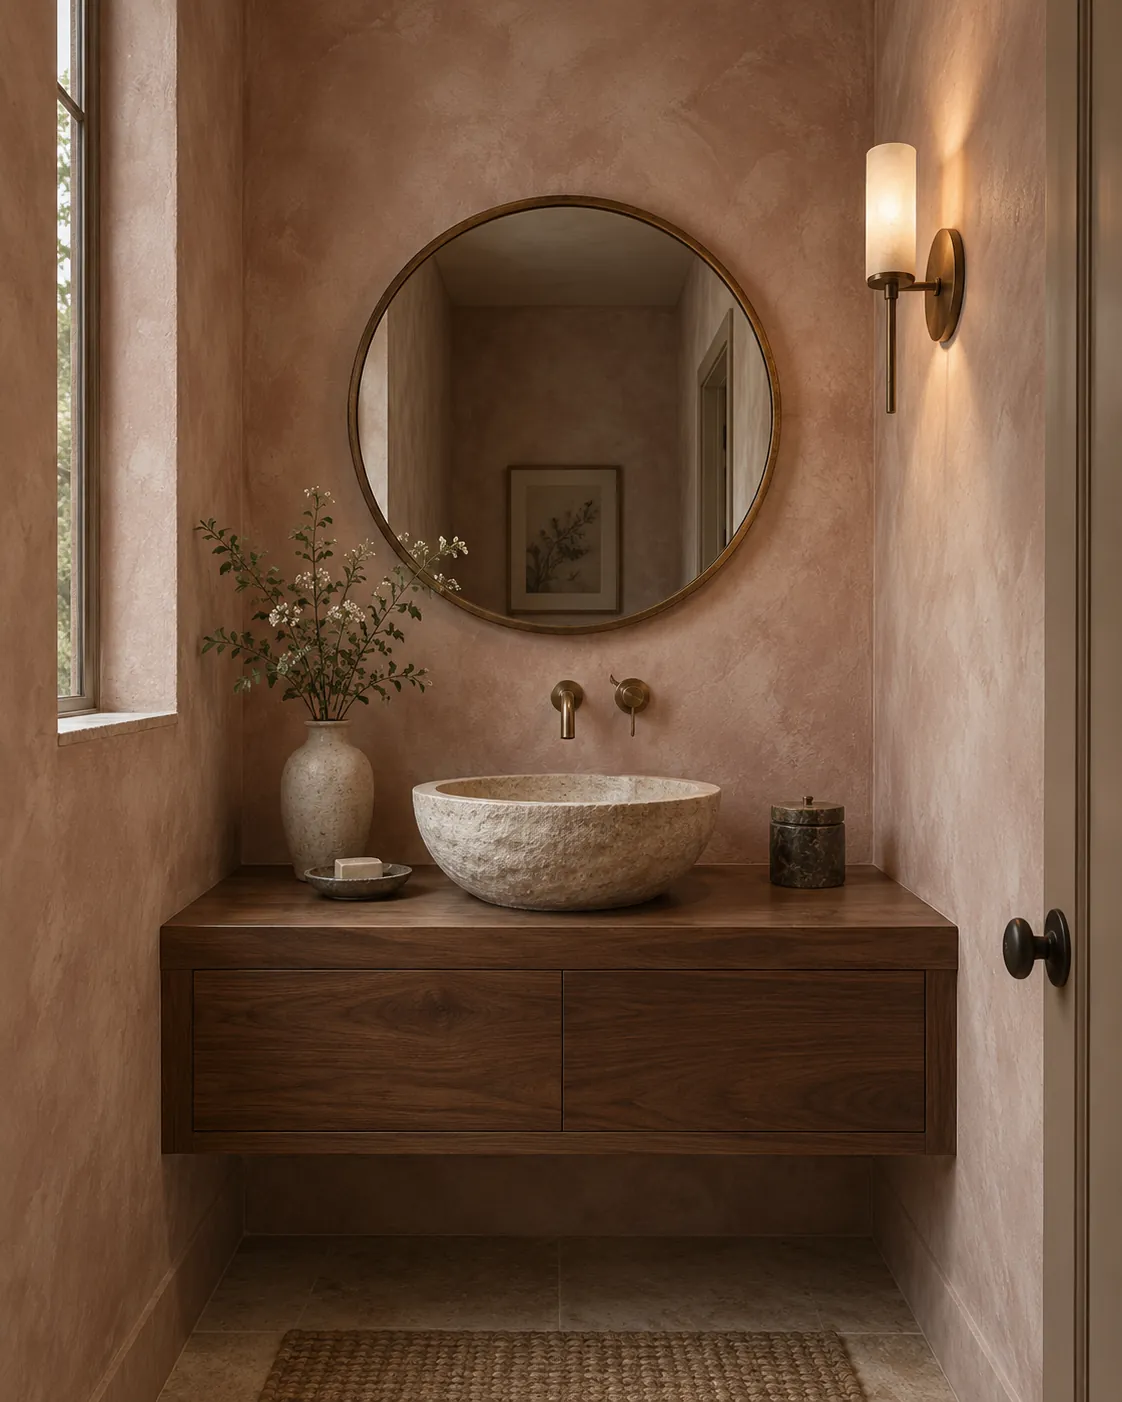
Powder room with clay-pink limewash walls and a carved stone basin
Clay-pink limewash in a powder room
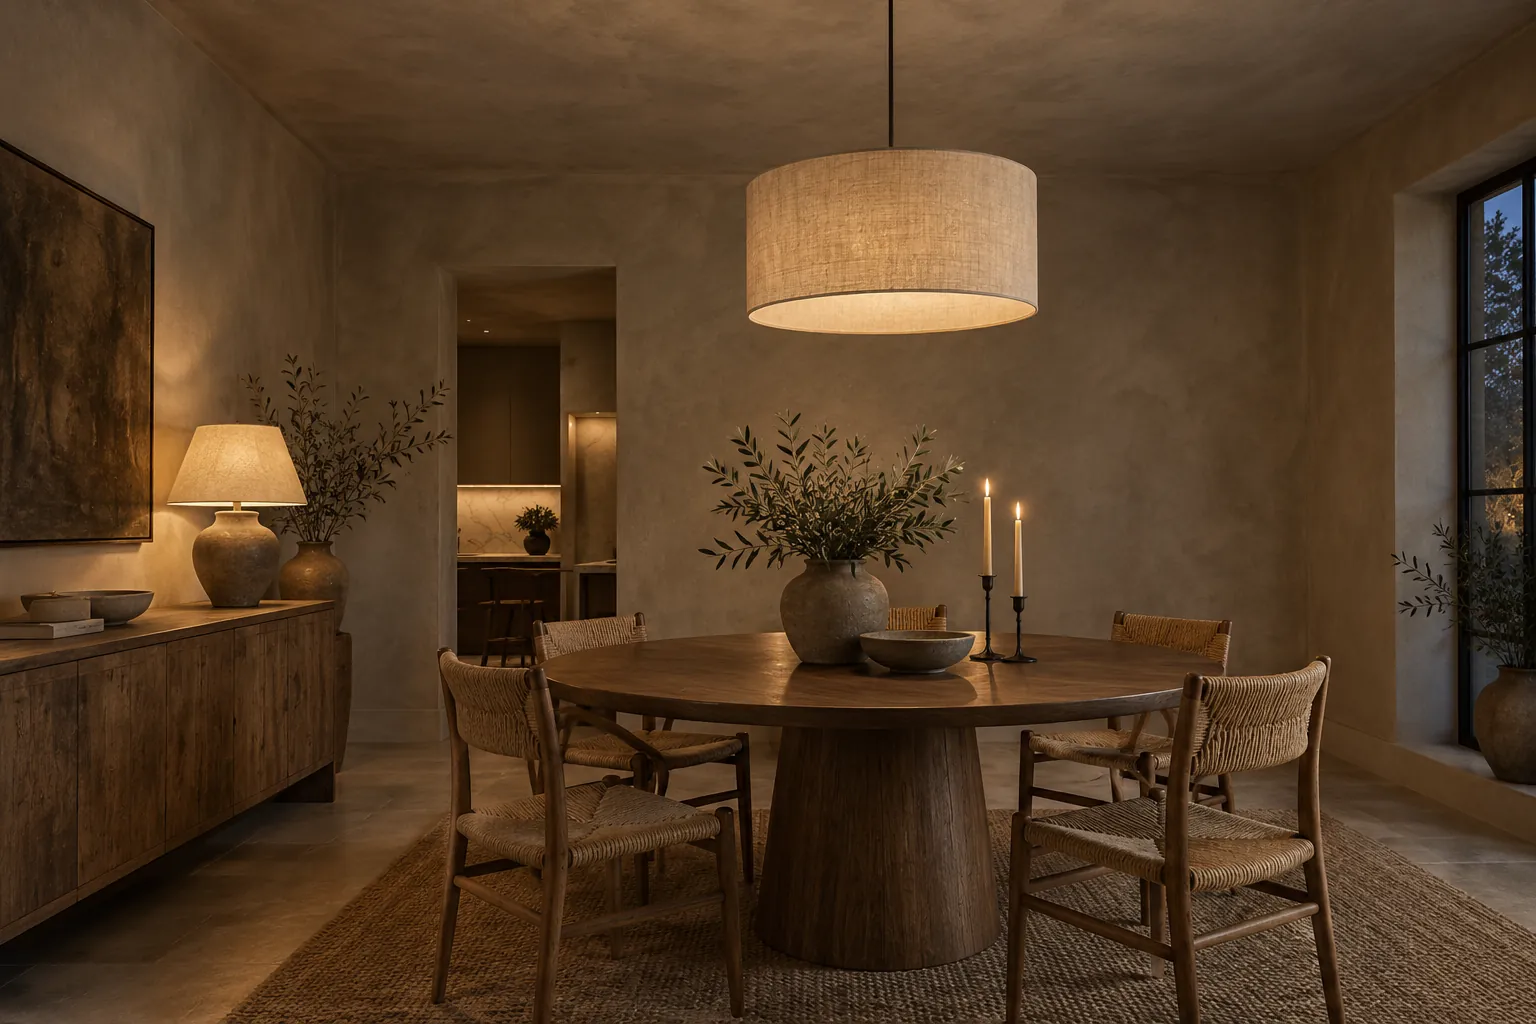
Dining room with walls and ceiling in mushroom limewash
Deep mushroom limewash on walls and ceiling
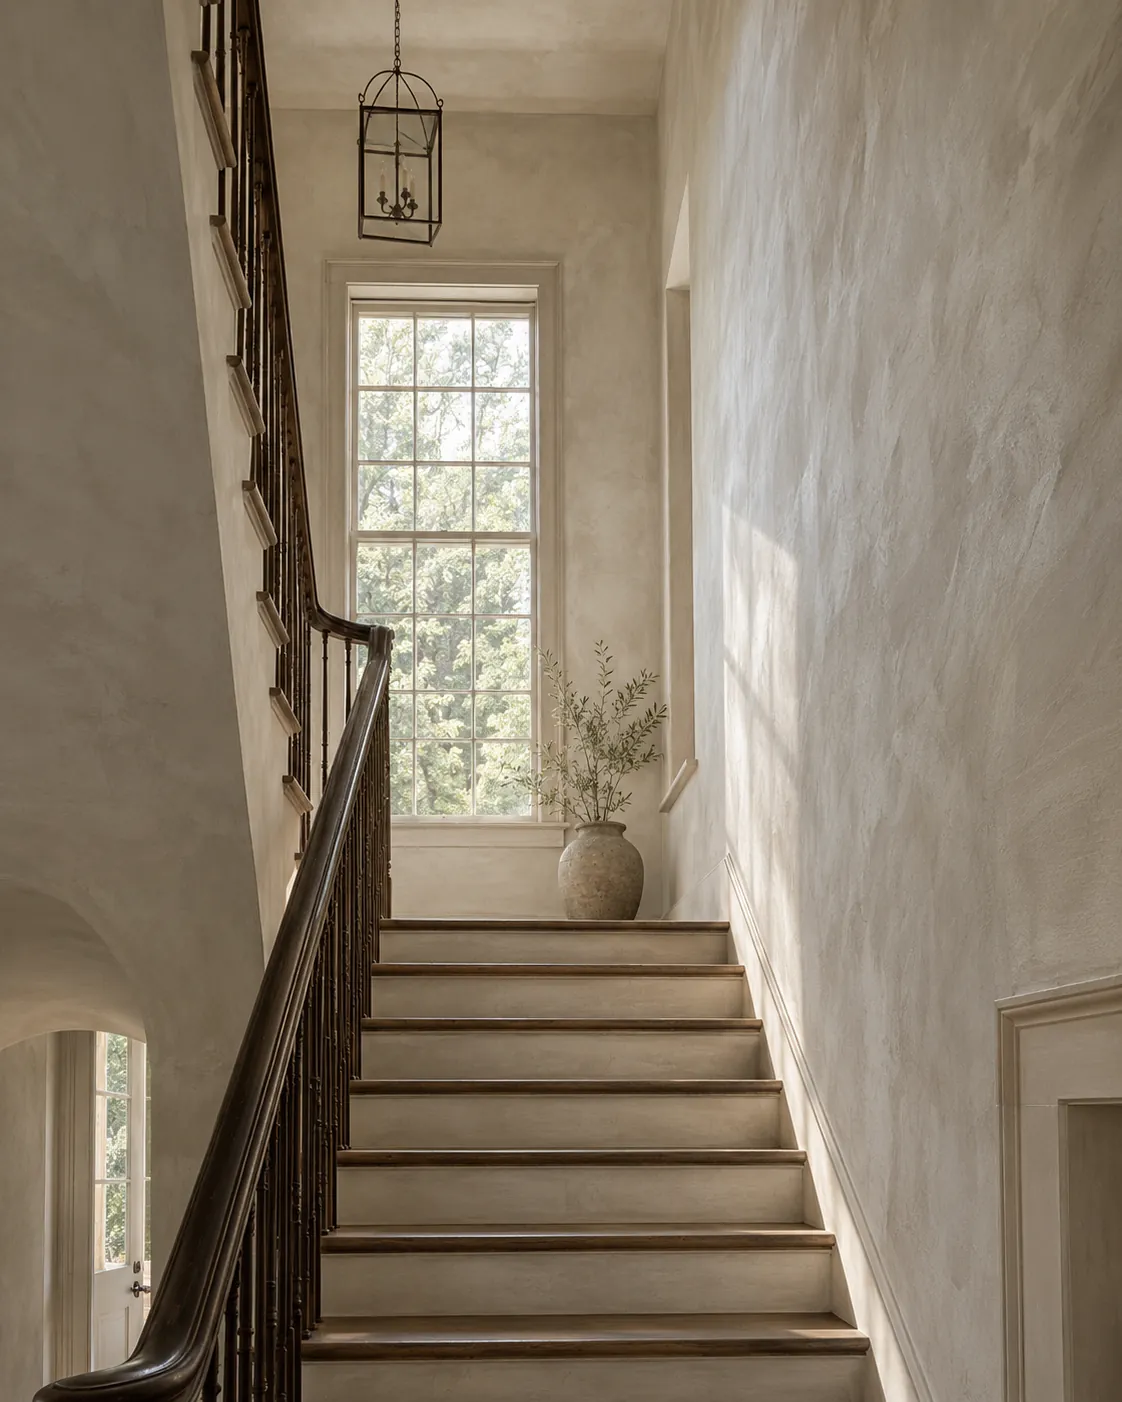
Stair hall finished in oatmeal limewash
Oatmeal limewash in a two-story stair hall
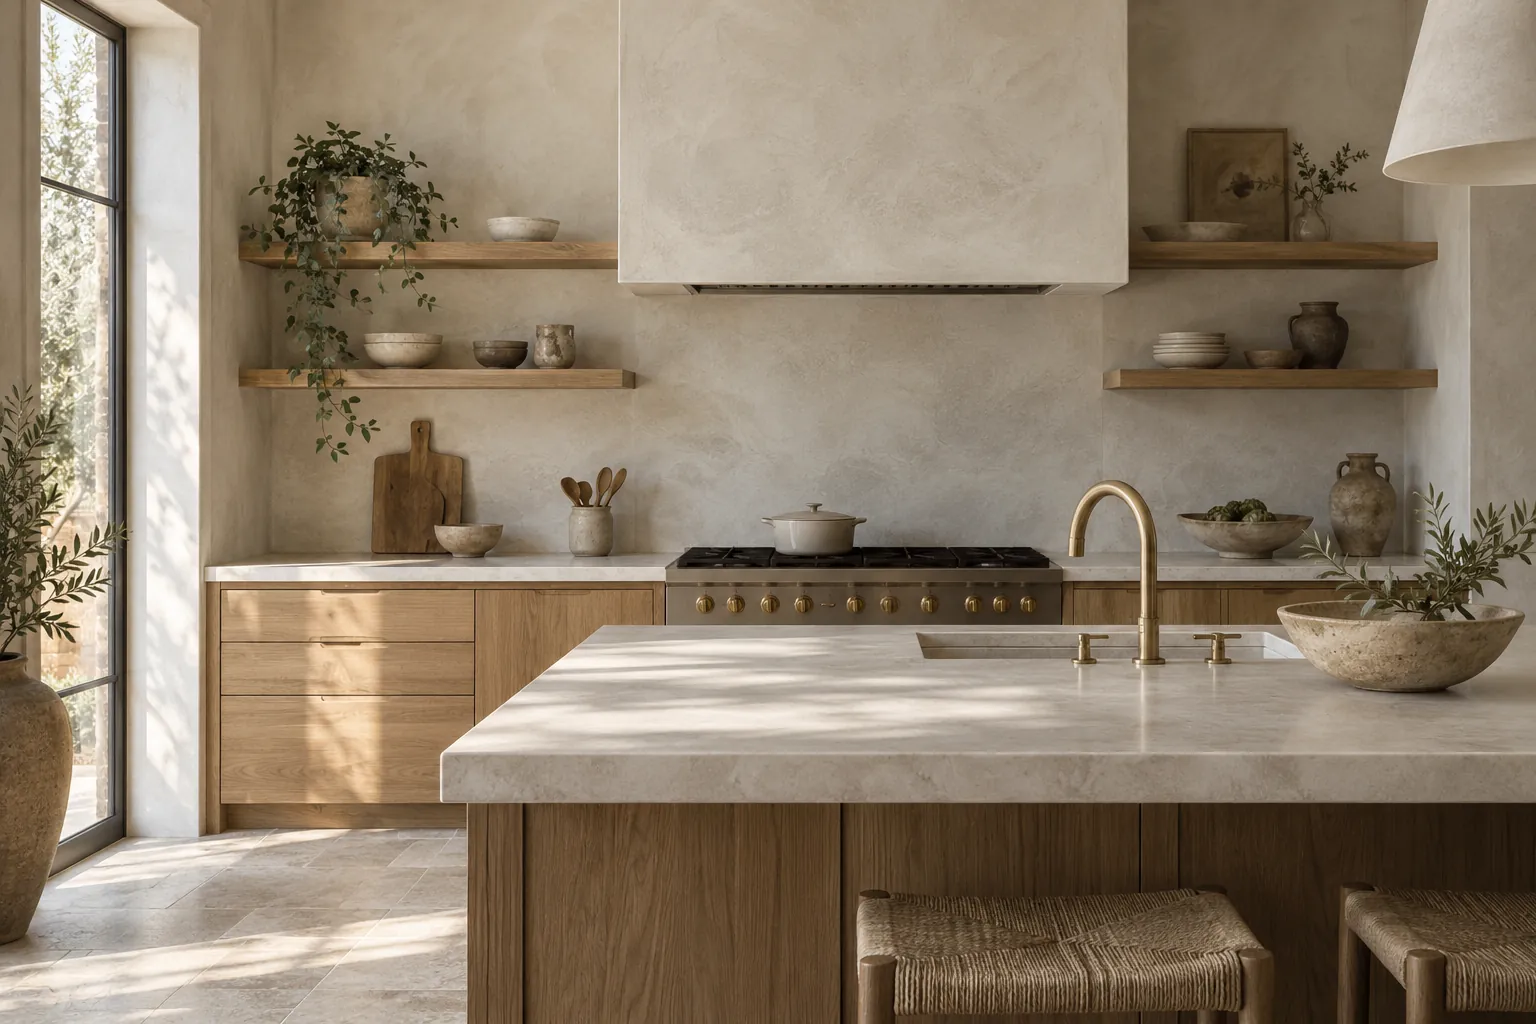
Kitchen with limewash range hood and wall behind open shelves
Creamy limewash on a range hood and kitchen wall
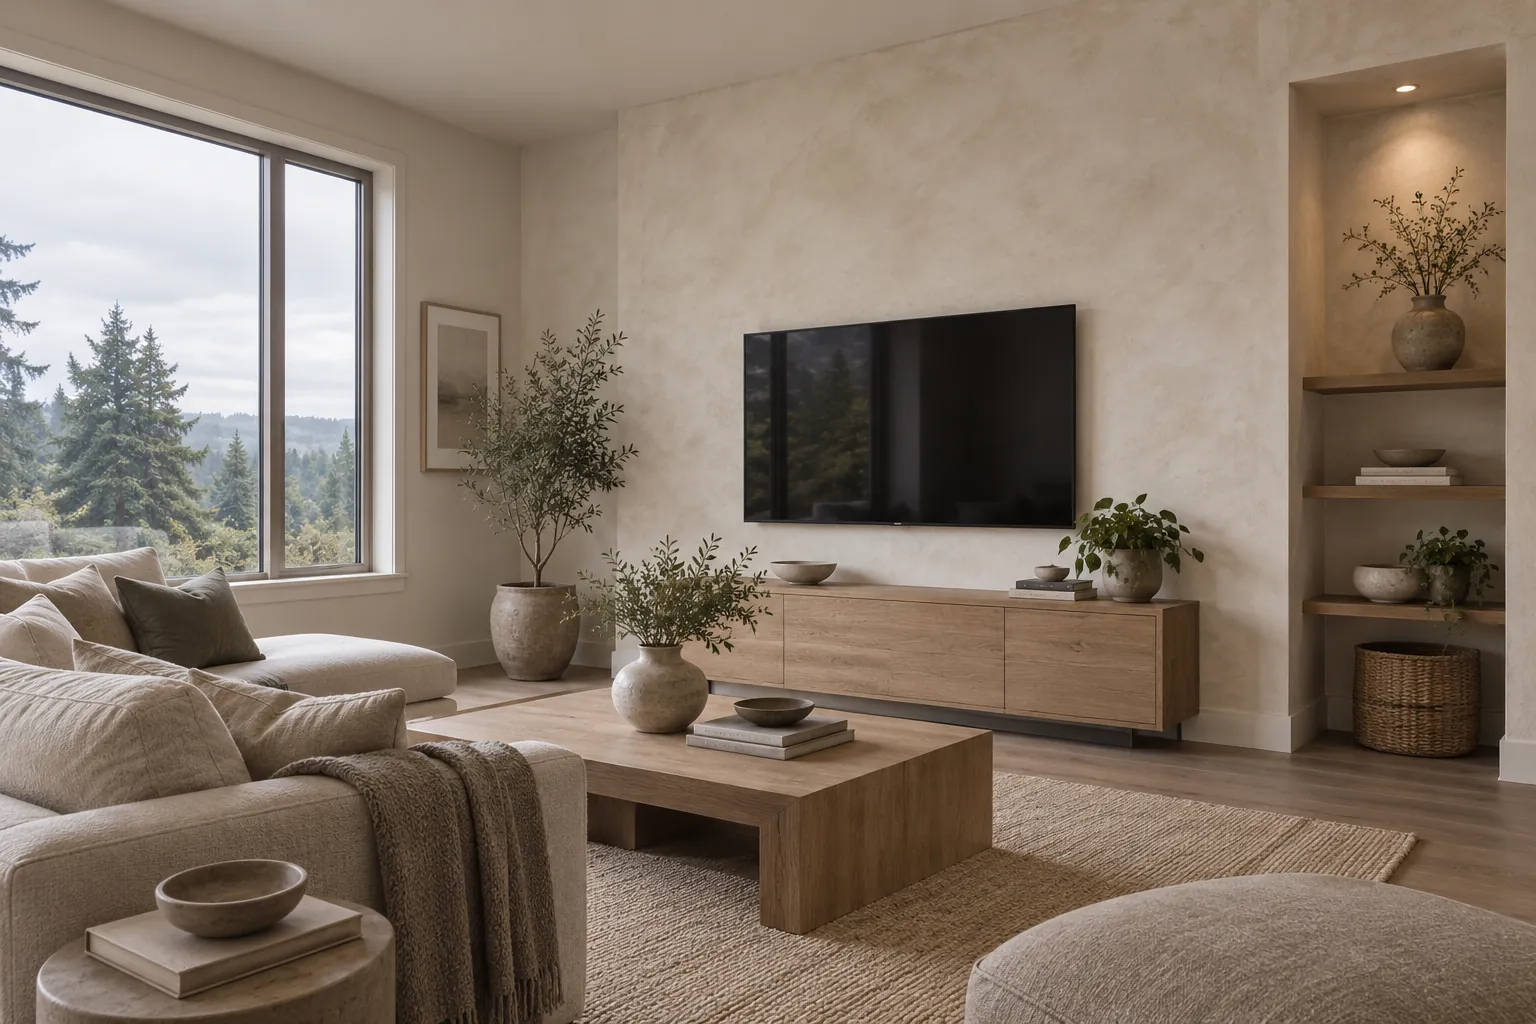
Family room with limewash over primed drywall
Warm-white limewash over primed drywall

Commercial interiors and more surfaces

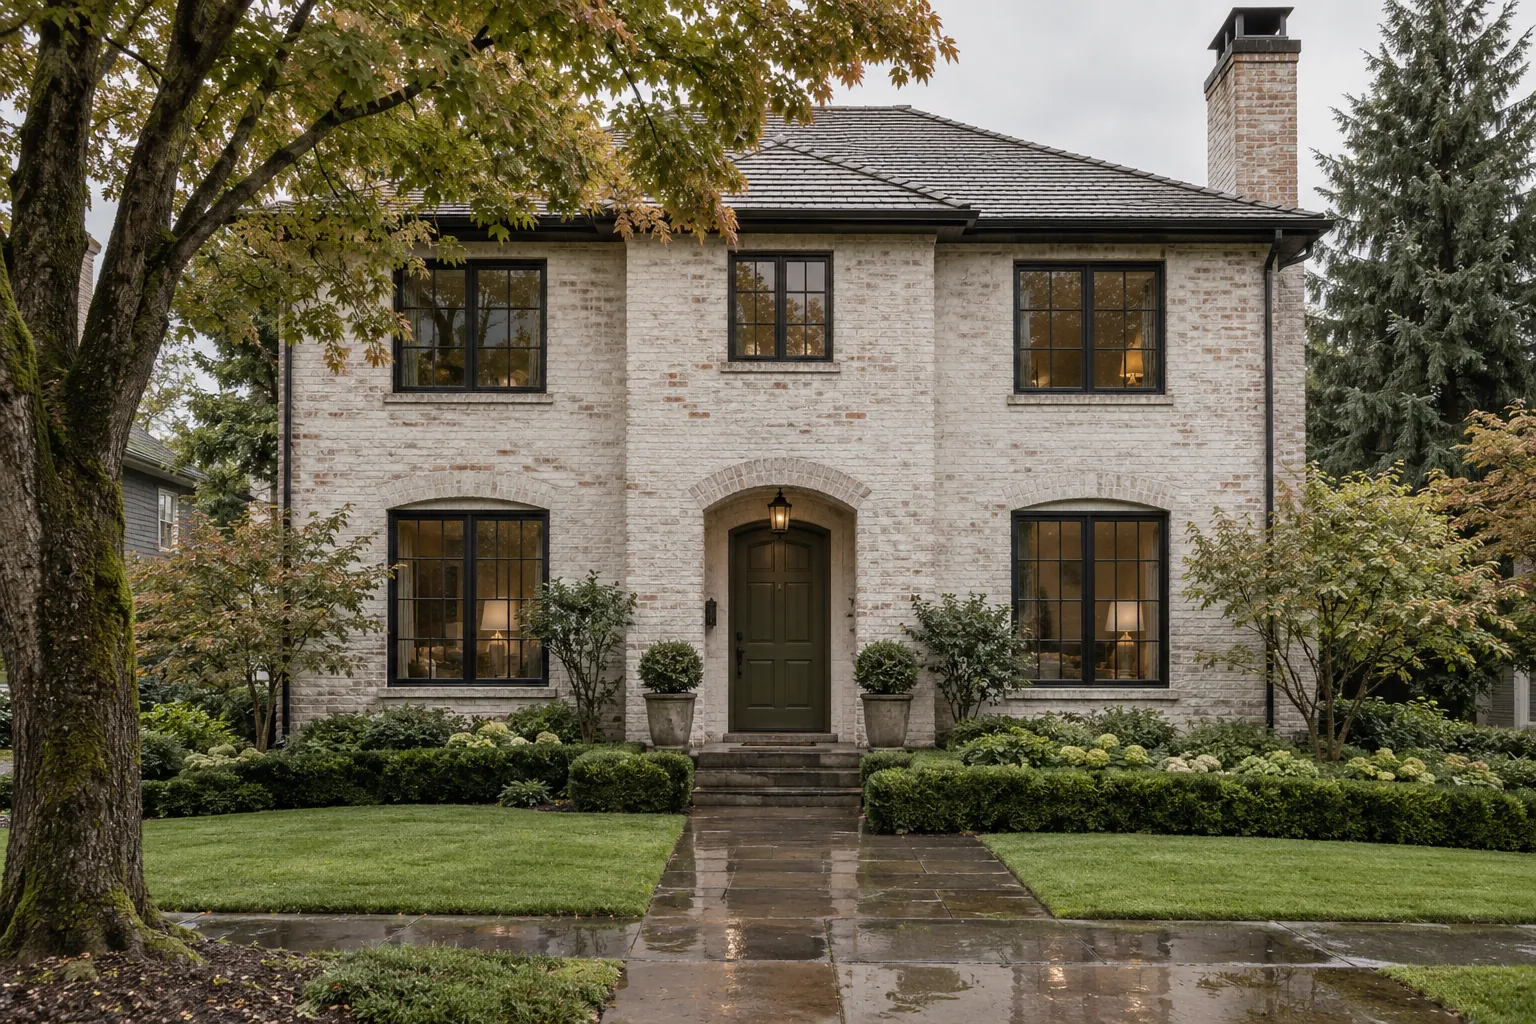
Two-story brick house with soft white limewash
Brick house limewashed in soft warm white
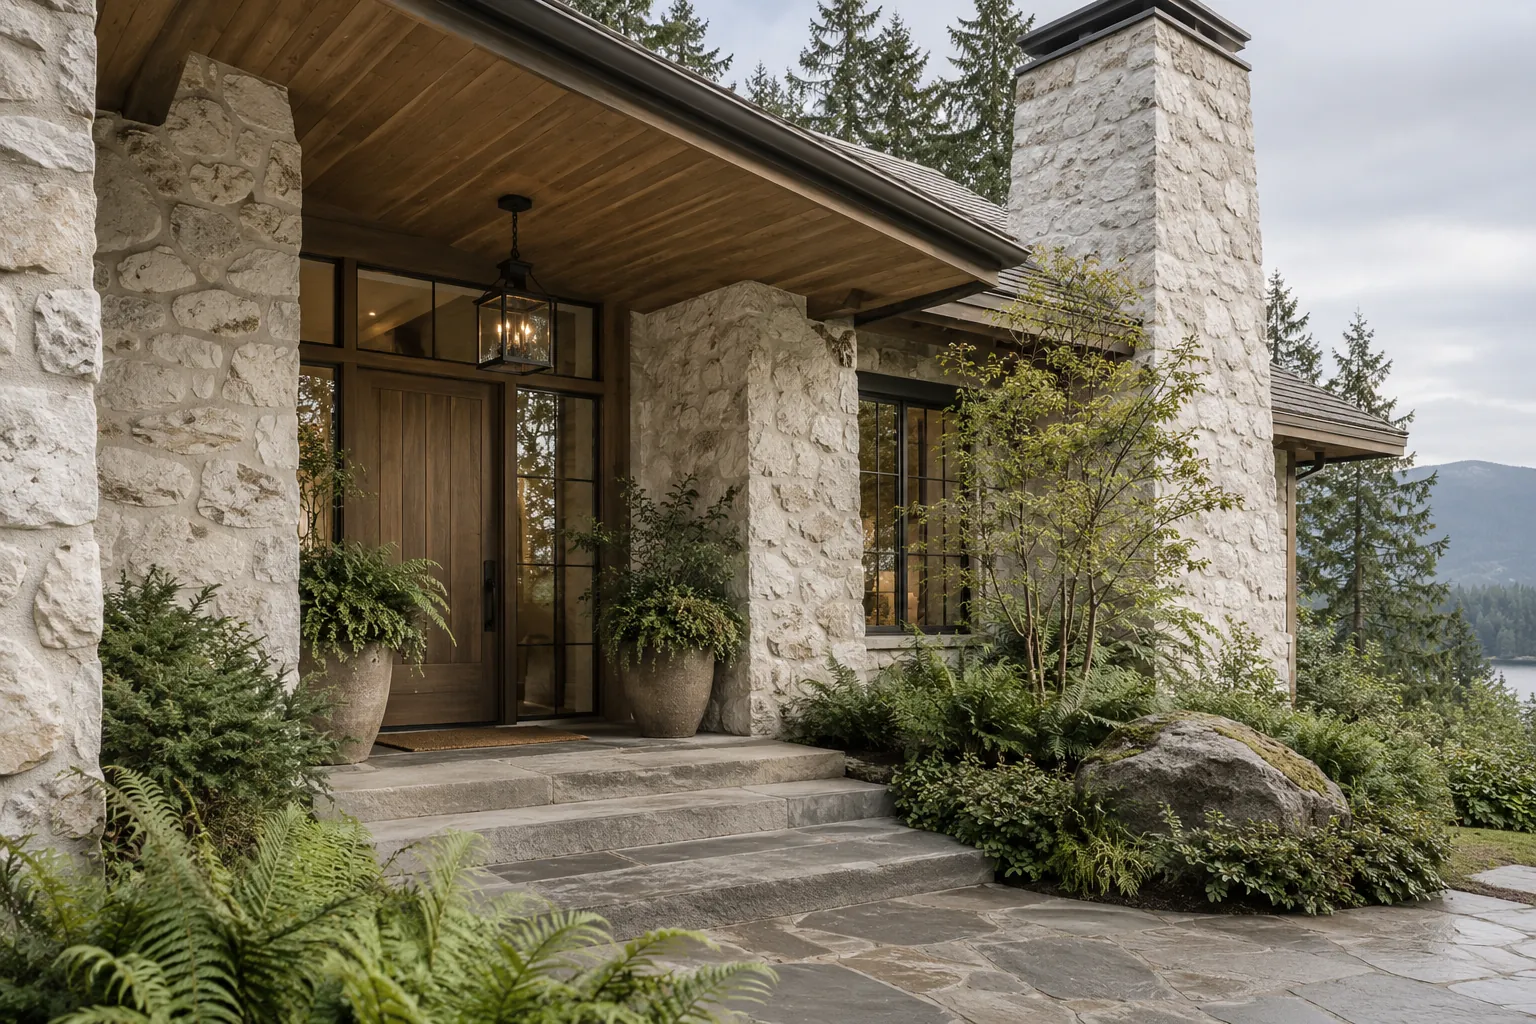
Fieldstone entrance and chimney limewashed bone white
Fieldstone entry and chimney in bone-white limewash
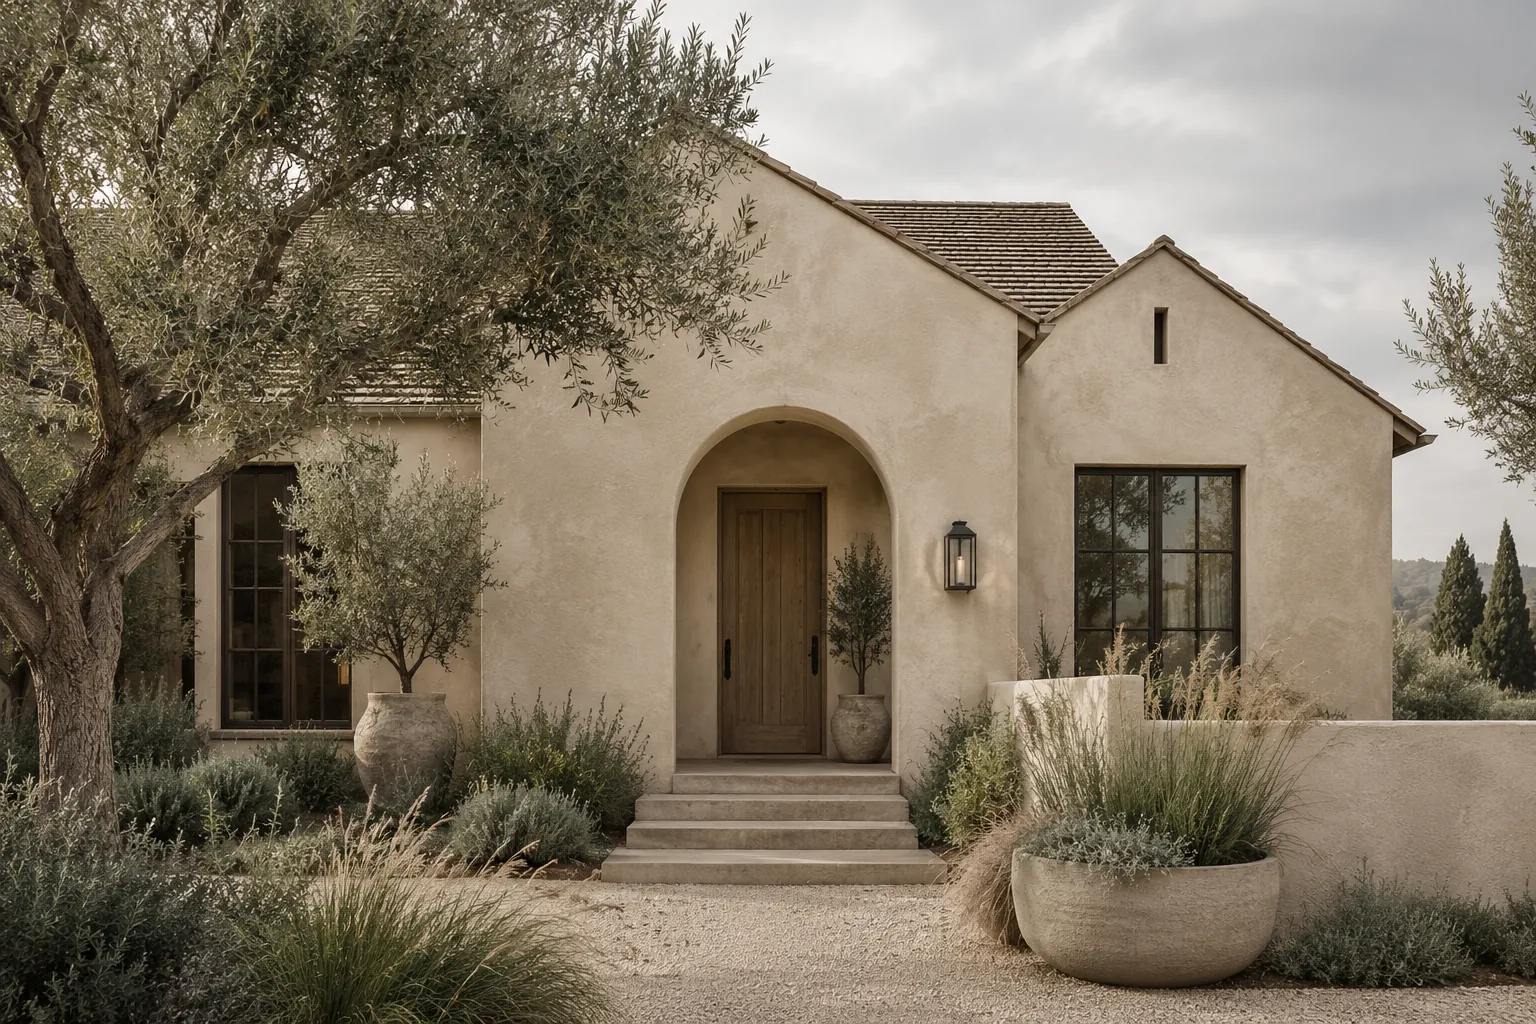
Single-story stucco house in sand-colored limewash
Warm sand limewash on a stucco house
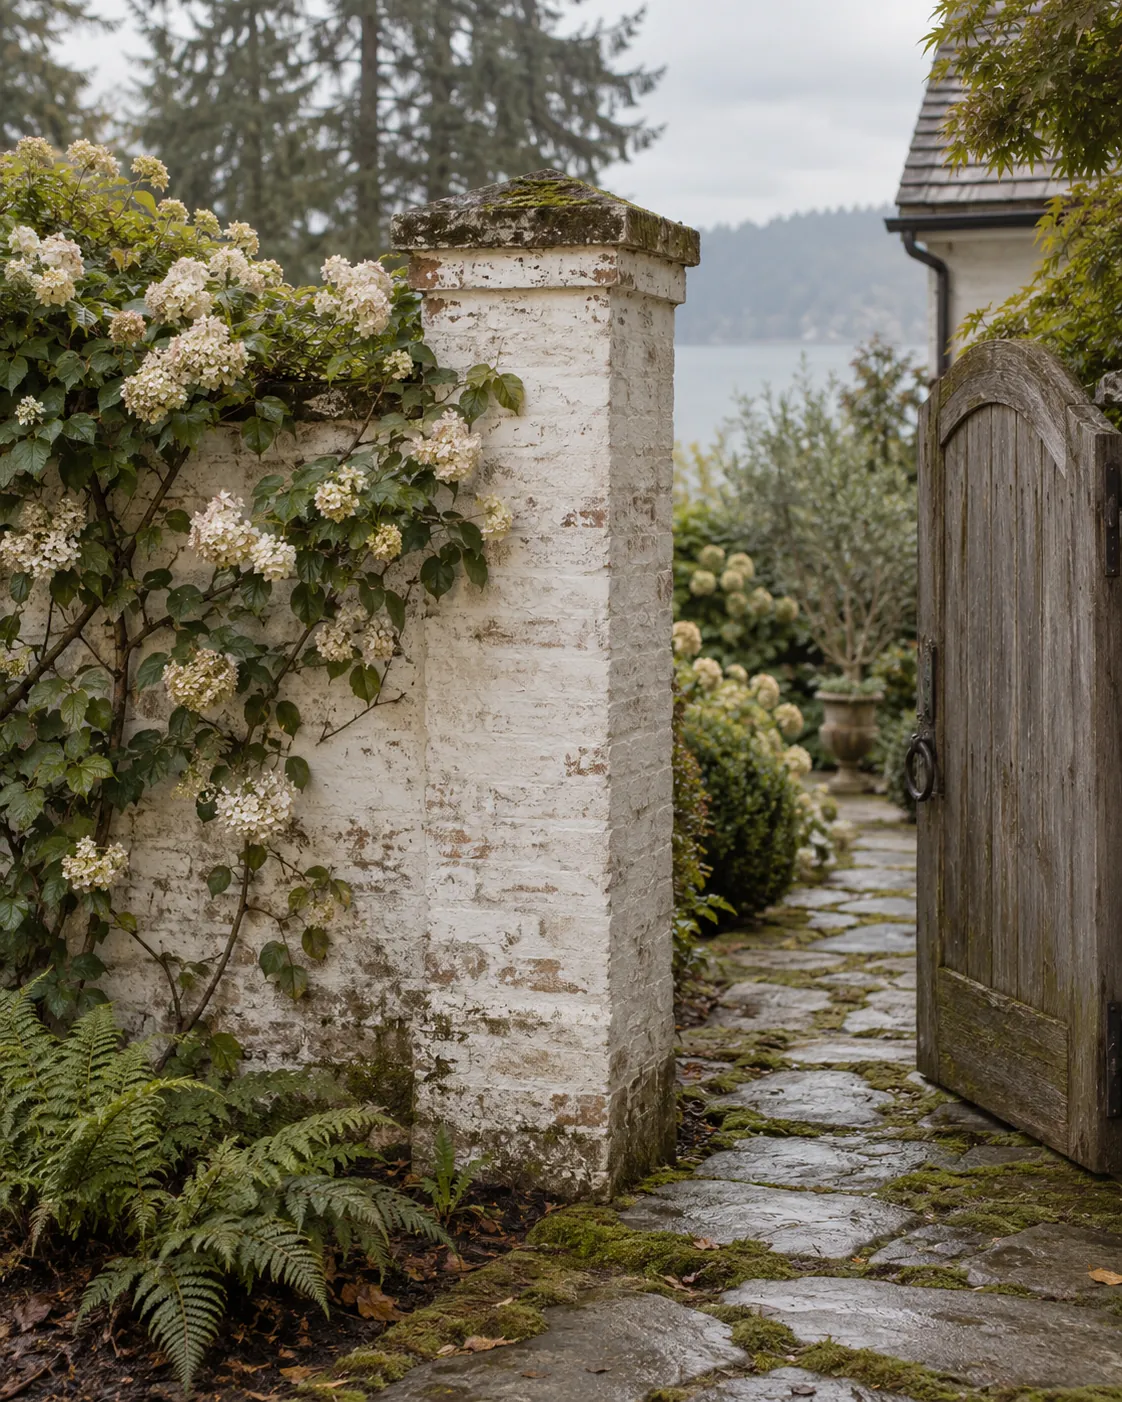
Brick garden pier with weathered limewash
Weathered white limewash on a brick garden pier
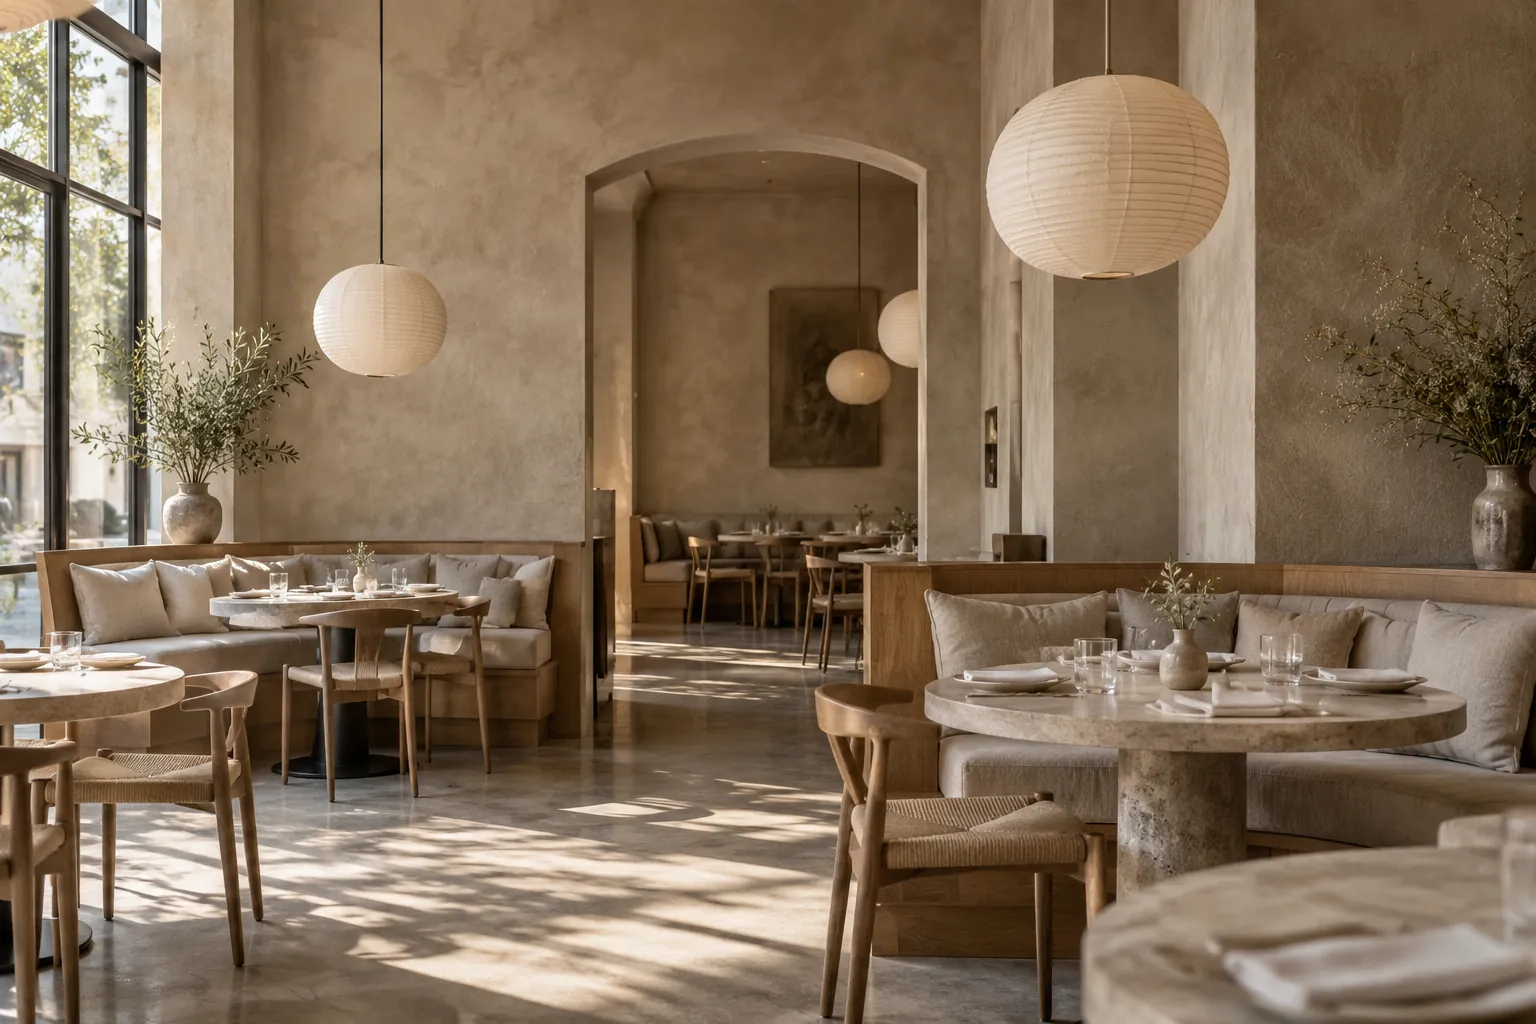
Restaurant dining room with taupe limewash walls
Warm taupe limewash in a restaurant dining room
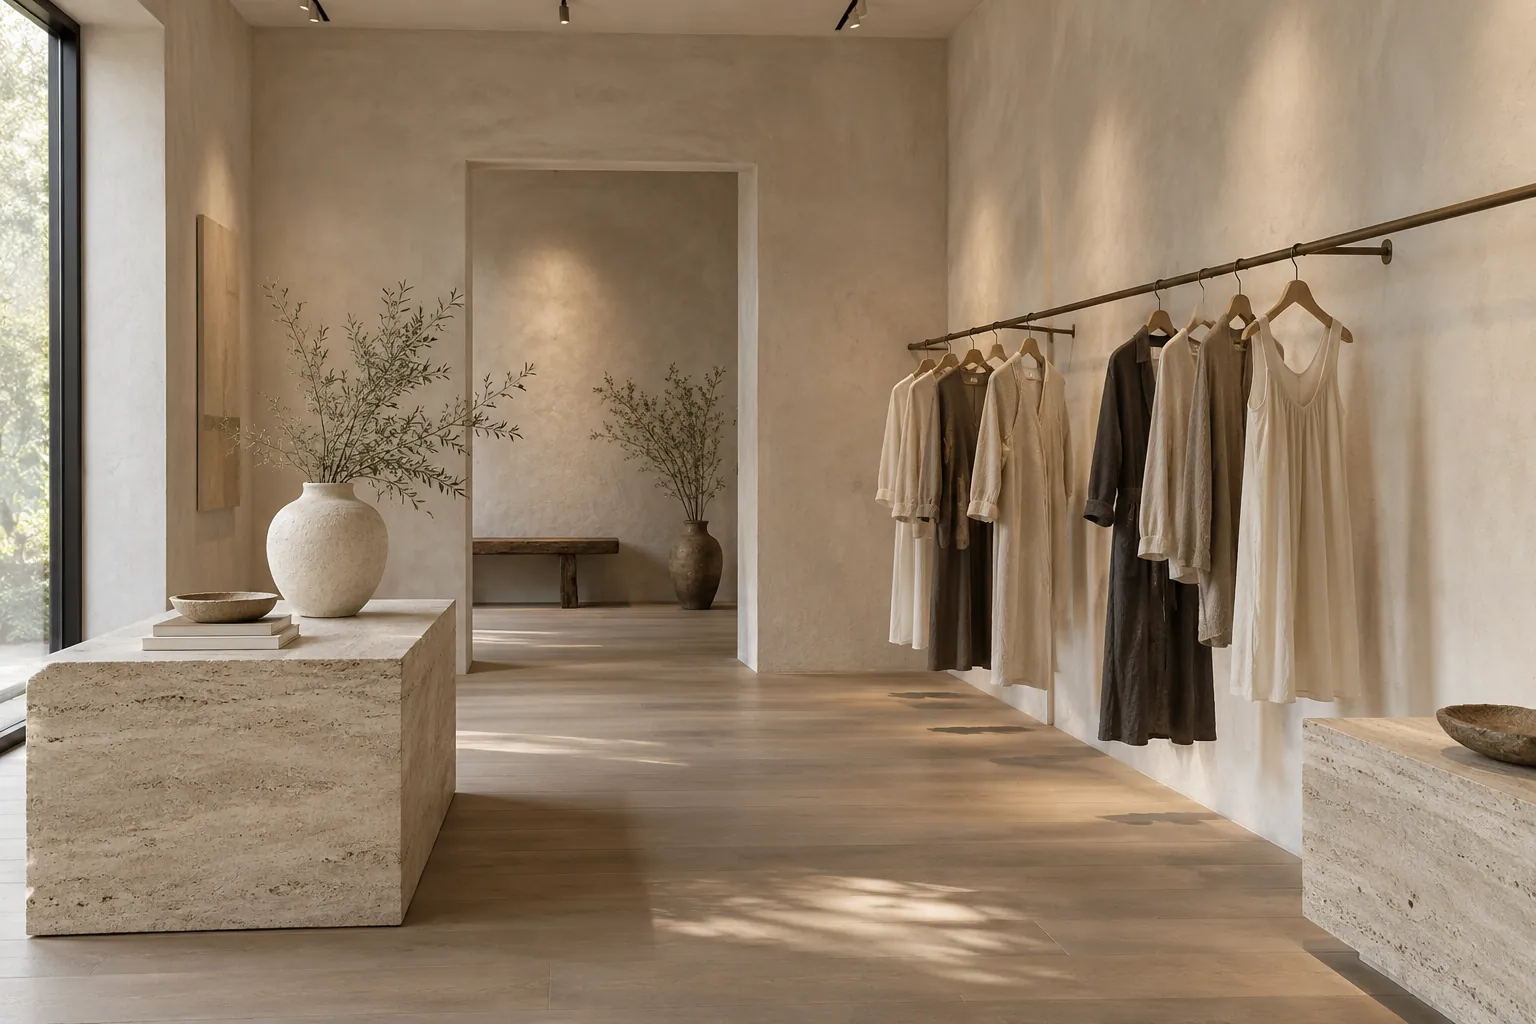
Boutique interior with pale clay limewash walls
Pale clay limewash in a boutique interior
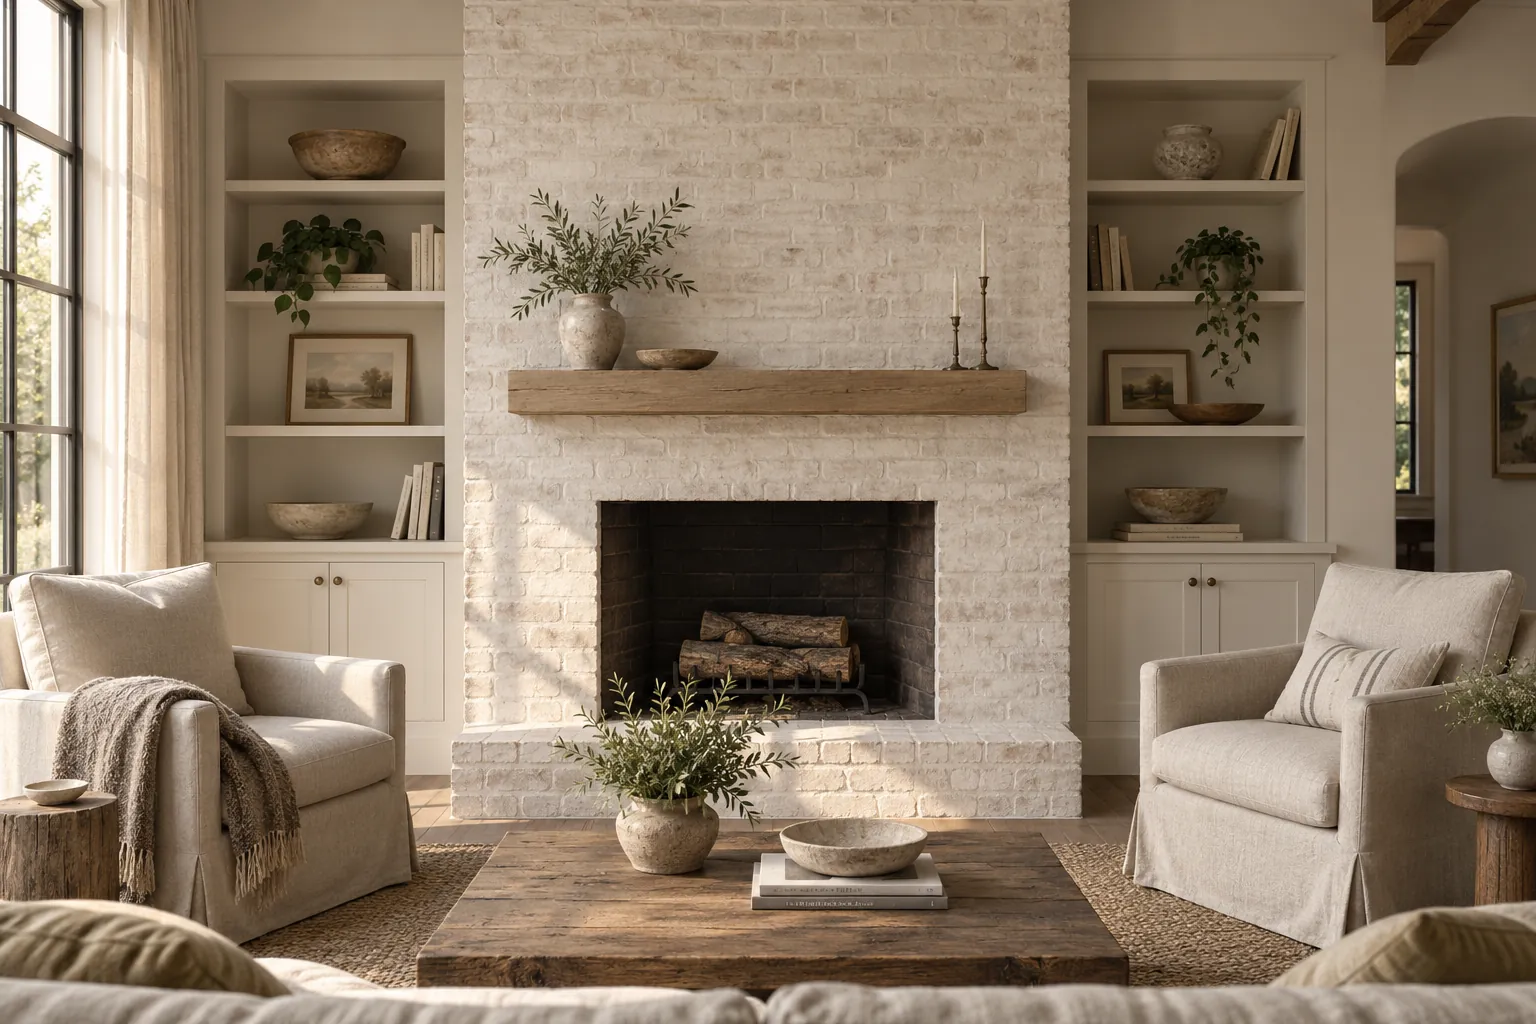
Brick fireplace in white limewash between built-in shelves
Chalky white limewash on a brick fireplace
Dining area with a limewashed interior brick wall
Interior brick wall in pale stone-gray limewash
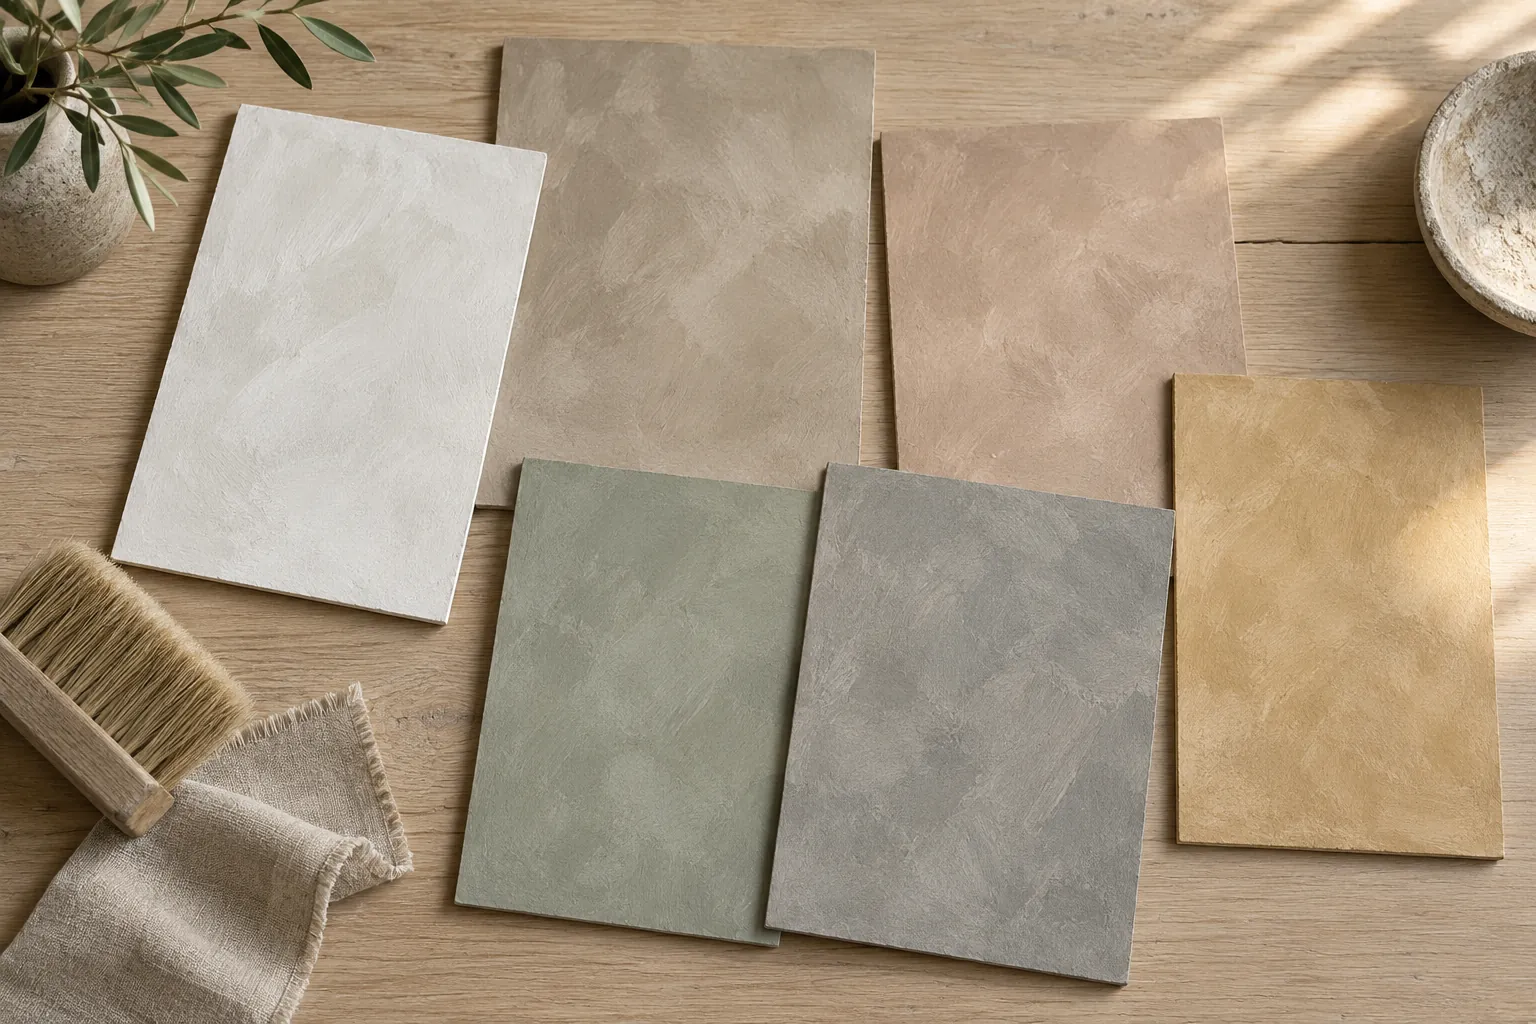
Limewash sample boards in six mineral colors
Hand-brushed limewash sample boards

Request a free limewash quote

Tell us which surfaces you have in mind, roughly how big they are and where the property is. We'll get back to you soon with an estimate or any questions we have. Estimates are free and there's no obligation.

Call (425) 696-6402

Call (425) 696-6402